


Register to get free articles
Want unlimited access? View Plans
Already have an account? Sign in
Your visitors will always be drawn to an image before they read the text on the page, so you need to make sure that your images look compelling. But mastering the art of pearl jewellery photography takes patience, practice and more practice. Oh, and a little technical acumen.
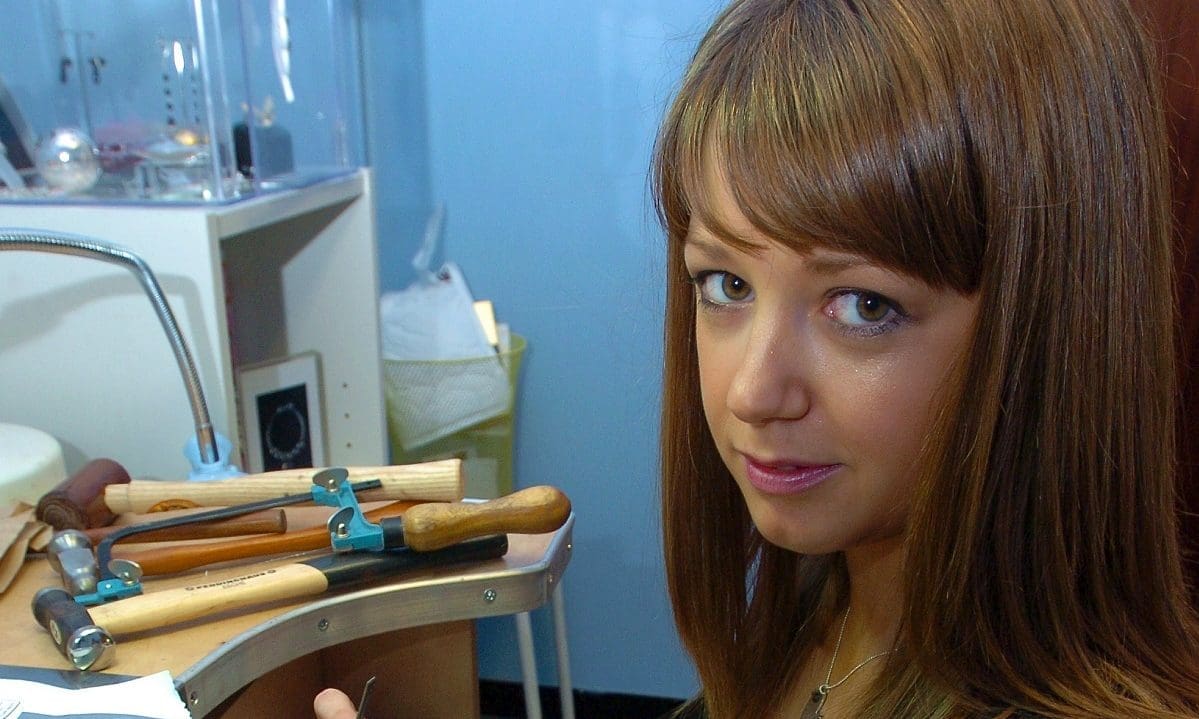
We teamed up with London-based jewellery photographer, Jewellery Imaging, an expert in pearl photography to bring you these five essential tips to get you started.
Get Prepared
Your camera doesn’t have to be expensive to take captivating photos – the skill is learning how to use it properly. Get a camera that enables you to use a macro lens or has macro capabilities and ideally one that supports a raw format use because the colour correction in post-processing will be better.
Professional jewellery photography requires you to use lots of different props to perfect the photo. You will need to experiment with these props and give some thought about how you will arrange your pearl jewellery.
Get a Tripod
Using a tripod will help enormously to keep the camera stable and will allow you to concentrate on your focus, lighting and composition.
Get Your Lighting Right
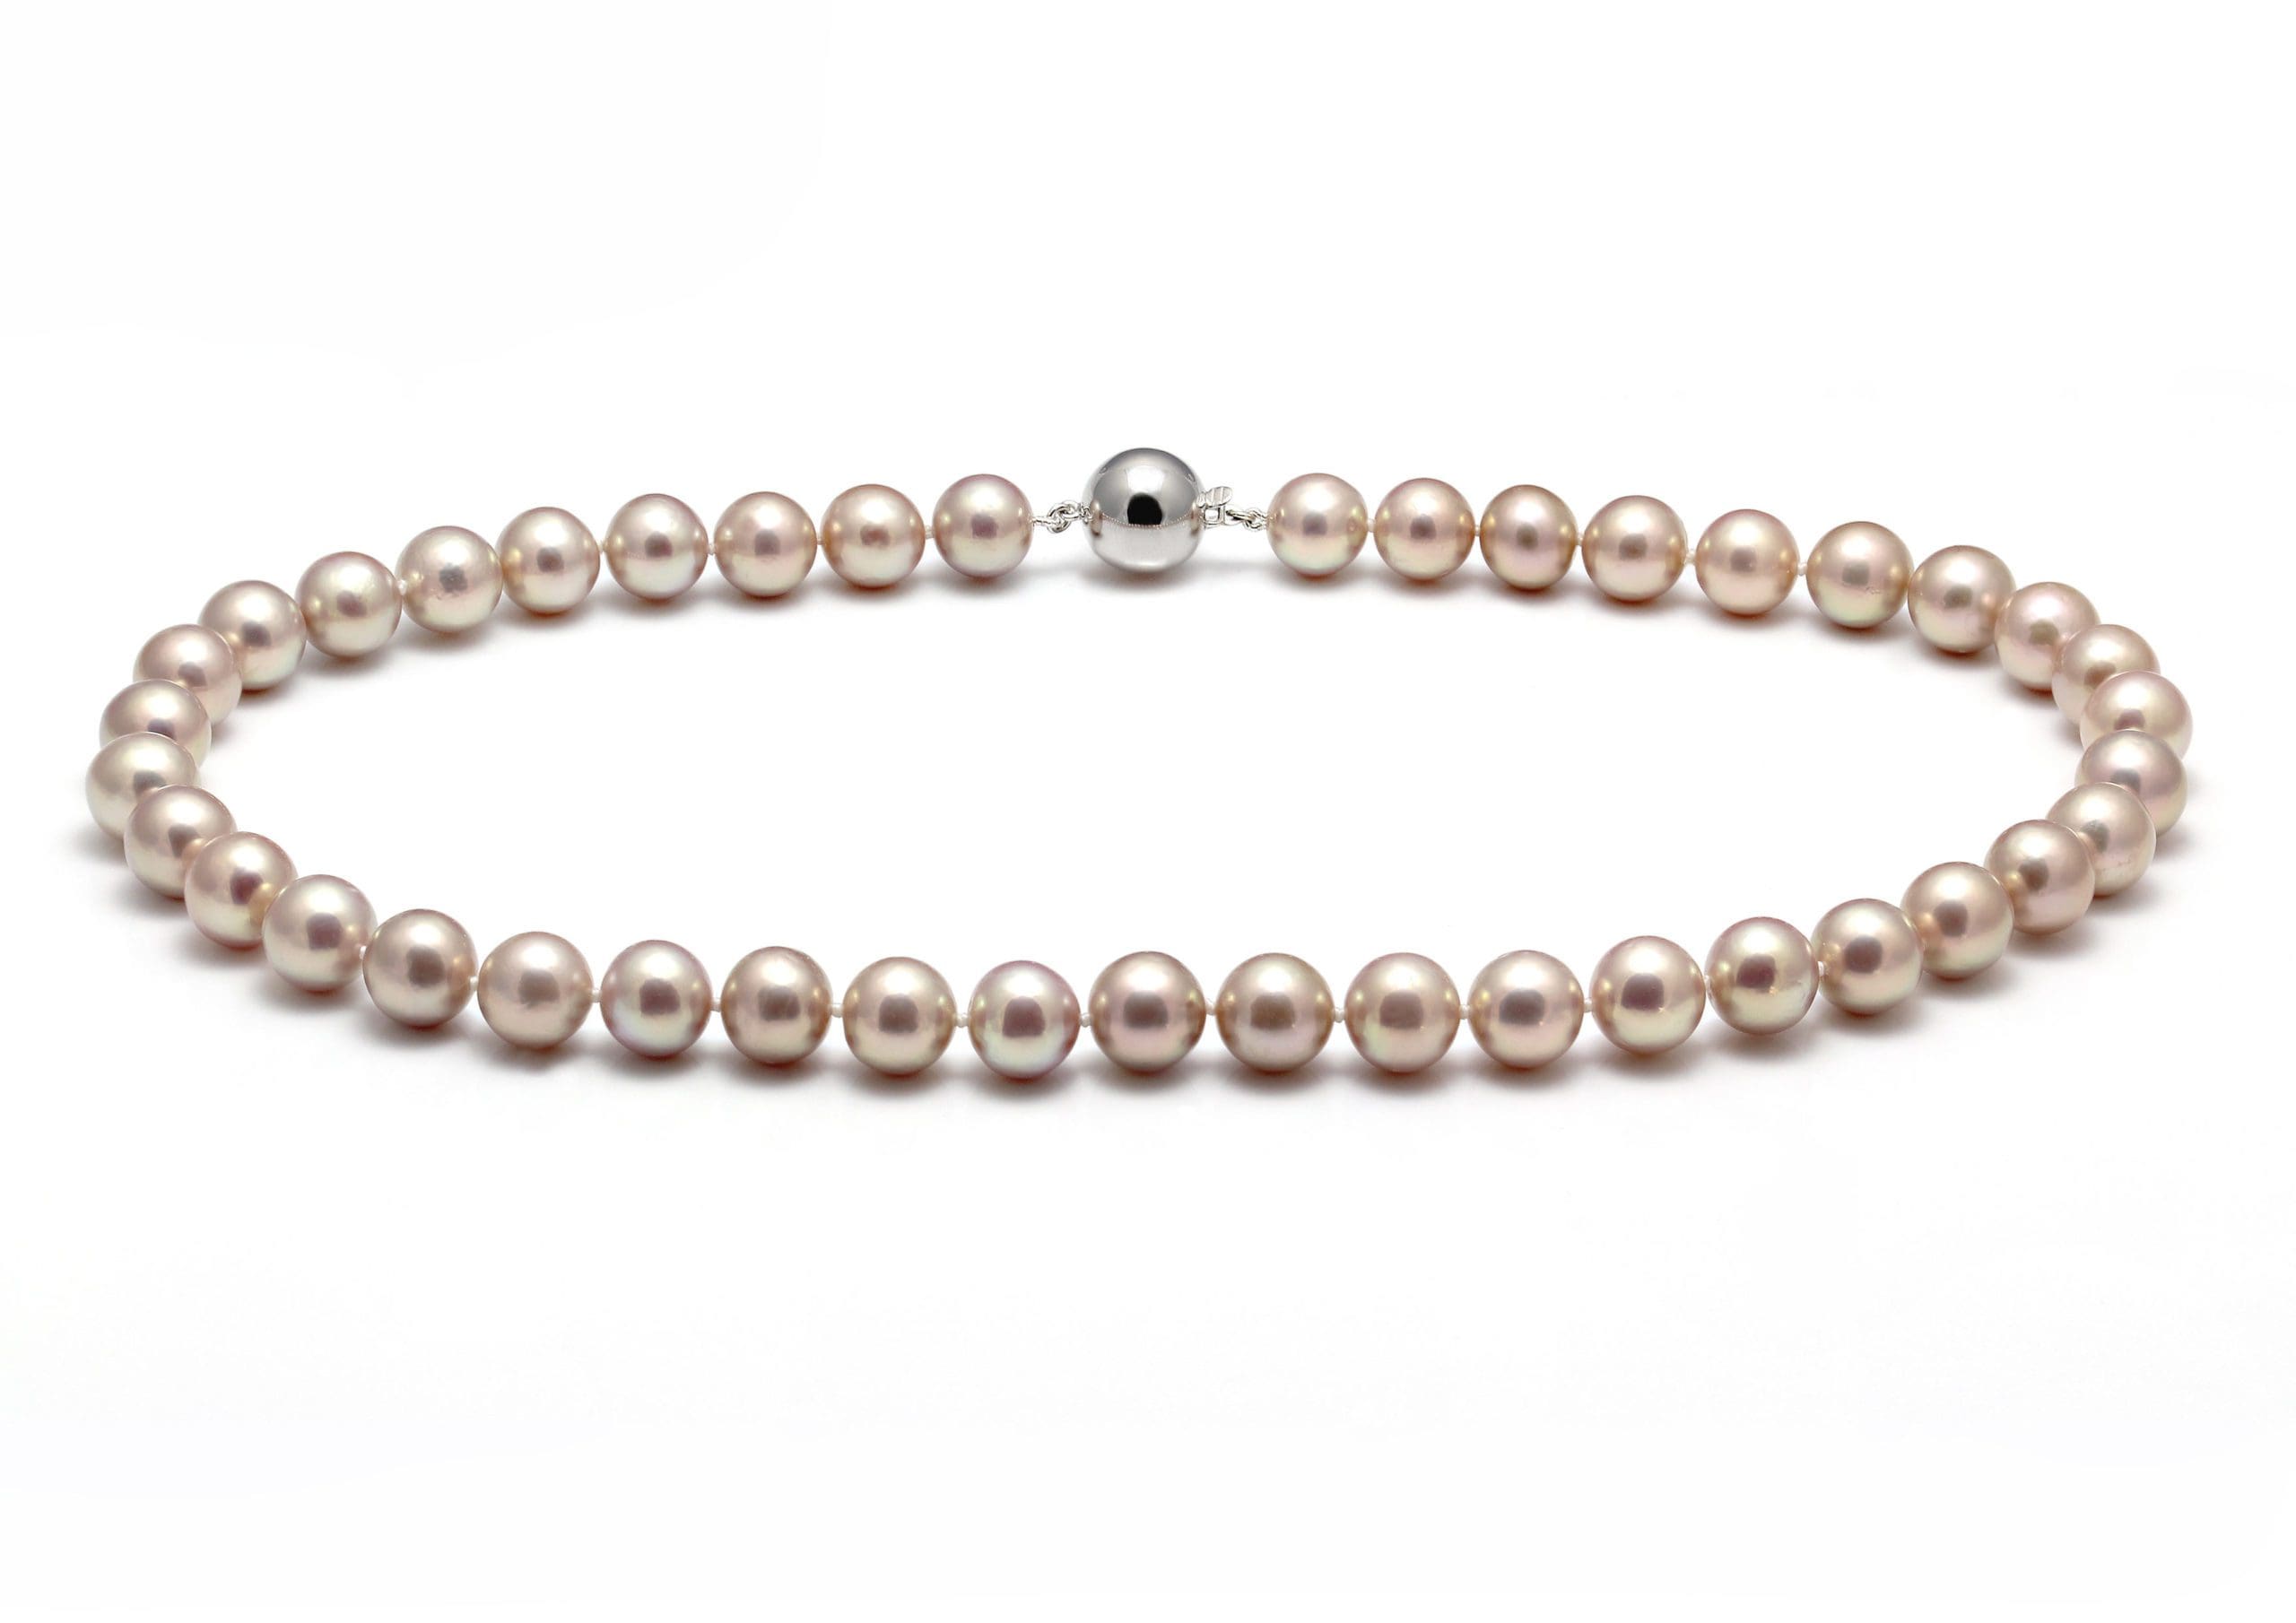
Pearls are admired for their soft, rich glow and to achieve this lighting is crucial. The trickiest thing is to get the colour balances correct. Too much light and a pearl’s natural lustre will fade, diffusing its overtones of colour. Too much contrast can reduce a pearl’s natural beauty and turn the beautiful organic gem into a harsh, metallic object. Too little contrast can make the peals look like plastic and lose detail of the natural nacre.
Experiment with Lighting
The easiest way to photograph pearls is by using one studio strobe with a reflector and grid. The light needs to be positioned about 1-2 metres above the pearls, slightly at an angle – you will need to experiment to get the lights in the right place. Use white cards and foam boards around the pearls to bounce more light into them and to soften the shadows under the pearls. Be sure to use a grey card and set a custom white balance.
Don’t Forget to Test
Don’t forget to include in that test whatever you place the pearls on. Light bounces around and even more so in a studio still-life situation. Both can introduce their own ‘colouration’ to the subject. Then you will be able to eliminate that colouration by careful use of the white balance in camera. You need to shoot either one in a still-life studio with black walls, ceiling and floor with no ambient light.
Be Consistent on Your Website
On your website show several shots from different angles and crop and size all your images in the same way. Think about the background you choose– most online retailers use a white background as customers are familiar with it. This obviously has to fit with your brand image. For artistic jewellery shots and homepages a black background (or contemporary colours) looks dramatic and eye-catching. For inspiration check out Chanel, they produce superb artistic jewellery shots on black, white and coloured backgrounds. Think about using models to show the size and length of your pearls. It’s much easier for the customer to visualise wearing your beautiful pearl jewellery.
This feature first appeared in the June 2017 issue of Jewellery Focus